Friday 30 December 2011

Creative Friday - a work in progress

Now is the time of year when I usually focus on finishing up some unfinished projects that I have around the house.
Right now, I am working on finishing up a rag rug to put in front of the dryer. I made one last year for in front of the washing machine, and still have not finished this second one.  I have reached a slow part because in order to finish this rug up, I need to unravel a braided rug that just wasn't working (to get the strips).  I am using a giant crochet hook and simply doing a single crochet back and forth in rows (so far, it is the only thing I know how to crochet, but that is something to work on in the future).
I think I am about 3/4 of the way through, with the work I did on it yesterday.  Soon, I will do a finished items post.

Come join the fun at Natural Suburbia's Creative Friday and at Wisdom Begins in Wonder for Fiber Arts Friday
I look forward to seeing what you are all working on.

Tuesday 27 December 2011

Butterfly Conservatory

Warning: This is a picture heavy post.

We went away for our Christmas Holidays this year.  One of the places we visited was the Butterfly Conservatory in Niagara Falls.  It is a fantastic place to visit...very warm and humid and tropical on a cold winter day.
Some butterflies were camoflauge.

Some butterflies were technicolour


Some butterflies were huge!

Some butterflies were friendly!
They were everywhere, and there were lots and lots of them.  Quite something to see.

And if plants are more to your liking...well, there were plenty of those too.  Tropical plants that don't grow here (well, outdoors anyways)...


It is definitely worth a visit if you are ever in the area. 

Wednesday 21 December 2011

Yarn Along - December 21

Joining Ginny at small things again today for this week's yarn along.

Look everyone, I finished my hat!  Don't I look so serious in this picture?  I took it in the mirror...tricky tricky.  I have to say I just love the hat.  It is warm, and cozy, and stripey and gray, and a little different.  It is a bit top heavy, but I will get used to it.

That is the last project I had on the needles (well...except for "the sweater" that I will have to revisit).  I have to pull out the sleeves and start over...a good project for the winter I am guessing.

You will notice there is no book in the picture.  I am on my way to the library right after I post this to pick something out for the holidays.

There has also been an absence of "using what you have" posts lately as well...so here we are:
I used to have a punch bowl...I no longer have a punch bowl...and the other day, I needed a punch bowl.  What I do have are mixing bowls.  So, the punch is in a mixing bowl, with a soup ladle for the scoop.  The whole thing is on a glass plate that I covered with bits of greenery snipped from the yard.  It worked out quite well.
And for the cups...I have been meaning to make those fancy beaded things you attach to the handles of cups or wine glasses to show which one is yours...but I still haven't done it.  So...the kids each picked a colour from the yarn stash, and there we go.

I can't wait to see what you are all making.

Monday 19 December 2011

Handmade Holidays - Teacher's gifts

I have to say, I love having handmade holidays.  While my friends are out shopping for gifts and gift wrap and fighting the crowds, we are staying at home baking and crafting and spending time doing things we enjoy with family and friends.

So for this week's handmade holidays post...more cookies...
Every year we make home baked goodies for the teachers.  Most years, we make cookies, but sometimes we make breads, scones, muffins, and other breakfast goodies.  This year, we went back to cookies.

Because we give such simple gifts, we like to "fuss them up a bit".  A few weeks ago, I made these gift bags:

In October, I sliced a fallen branch into slices to use as gift tags.  You may have seen them on earlier handmade holidays posts (see here and here).  For the teacher gifts, I made them a little more fancy by painting them instead of using a marker.
 I used "Spun Gold" for the letter and "Bronze" for the highlighted portion, and outlined them with a black pen.

I also made some fabric feather tags to add.  I would love to give credit where credit is due here, but these are all over the internet so I don't know who to credit.  I believe I saw them for the first time on the "Green Wedding Shoes" website, but I can't be sure.
I added some real feathers to mine, and tied them together with gold thread and hot glue.
I put the cookies into a small plastic bag first, and then into the gift bag to keep them fresh longer.  Some teachers are getting a variety of cookies, so I put each flavour in separate plastic bags and then into the larger gift bags. 
I quite like how they turned out, since I usually put them in boxes.  I think I might do bags again next year.
 
Hop on over to Plain and Joyful Living to see what other people are sharing for their handmade holidays.

Monday 12 December 2011

Handmade Holidays - brothers making for brothers

I am joining Tonya at Plain And Joyful Living for Handmade Holidays again this week.

The boys have been working hard making gifts for each other.

N has been making book covers for S, an avid reader.
He made three book covers in different sizes, one to fit each of the three current favourite series that S is reading.  The hardest part was sneaking the books from S's room so we could be sure they would fit.

He cut rectangles out of fabric (he is 9 and chose striped fabric from the stash so that he could cut with scissors rather than a rotary cutter).
He serged all of the edges, even the ones that were going to be folded over.
He sewed pockets on each end for the book cover, and even sewed down the side in between so it would be neat and tidy (if you have met N, insert GASP here!).  He did need help with starting the very first one, and he asked me to put the pins in...but with instructions.  "Tuck the pins back under after, Maman.  I don't want them poking up." 

Interesting what your kids teach you...after years of sewing, and more than a few pin pricks, it never occured to me to tuck the pin ends back under.  And I also learned to just let him do it...he is perfectly capable.
Yikes.
 He folded the covers in thirds and added a handprinted label telling him which book would fit which cover.
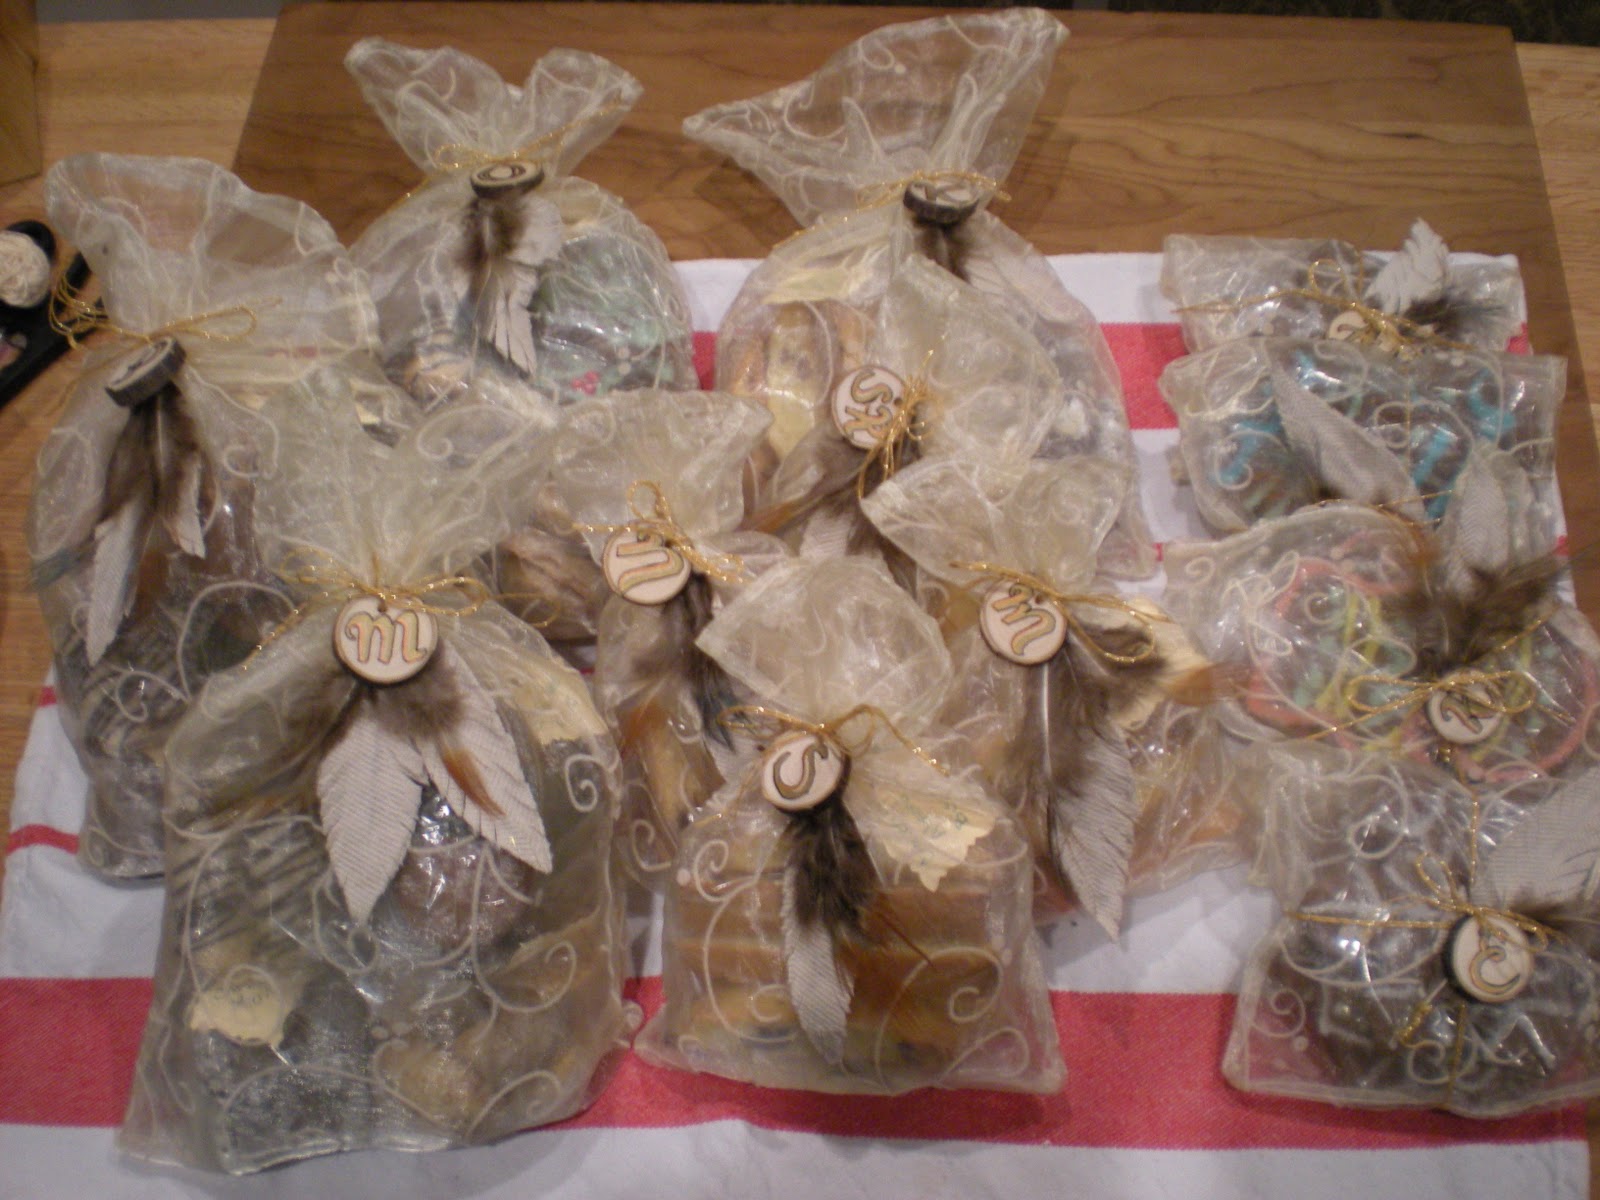
And packaged them up...
in this gift bag...note the gift bag...you will see something interesting later in the post...
And made a tag, cut from the side of a "facial tissue" box.

S has been making bath items for N.  N loves to have a bath, but usually only has one when he is ill (he gets the croup a lot! and spends a long time in the bath each time he gets it). 

S made N a jar full of bath fizzies:
and a jar full of bath teas,

For the bath fizzies:
He sifted together citric acid, cornstarch, and baking soda (you can find all kinds of recipes for this on the internet...but for each batch, we used 1/4 cup citric acid, 1/2 cup cornstarch, and 1/2 cup minus one tablespoon of baking soda if I remember correctly...we had to modify for smaller batches).  In hindsight, you can make one large batch, and then divide it up to add the colours.
He added food colouring to a spray bottle of water,
and sprayed slowly while stirring until the mixture could hold a shape when squeezed.
He added a few drops of essential oil,
and pressed the mixture into a mini muffin tin.  Let it dry at least two hours at this point.
Then he flipped them out and put them in a jar, which he labelled with the name of the oils he used.

For the bath teas, he cut squares of cheese cloth, using two layers per bag.
 
He placed three tablespoons of herbs in the center (he used lemon balm, lavender, and mint),
tied each one up with a colour-coded piece of yarn, cut off the extra fabric,
and packaged them up in a jar.

He put both jars in a gift bag...
and made a tag from an old Christmas card.

Here is the funny part...I have maybe 30 gift bags in different colours, shapes, and sizes that we consider our Christmas or Solstice gift bags.  Most of them were made with "holiday print" fabric, although some are just solid colours.  There are exactly 2 bags made of the above fabric in the box where we store gift bags.  They both chose the exact same bag.  We also have a variety of ribbons and ties that we re-use from year to year...they both chose white ribbon.  When they are together, they will often both choose the same thing but I always thought it was "to be fair".  I find it interesting that even when they are doing things secretly, they still happen to choose the exact same thing.

What have you been making for handmade holidays?

Sunday 20 November 2011

Handmade Holidays - Advent Calendars

I am joining Plain and Joyful Living for Handmade Holidays again this week.

We have two advent calendars at our house, neither of which involve candy, treats, or daily gifts, so I thought I would share for those of you who are interested.

The first is an assembly of little forest friends:

This is what it will look like this year a few days into December.  Here's how it works:

A few years ago, my boys received this advent calendar as a gift:


It comes with little forest animals, their food, and a Santa Clause and you are supposed to put each thing in its own little cardboard box and open a box each day and put the toy on the cardboard background, which we did the first year.  The second year, we set up a little forest of branches from our garden and had the little animals come one per day to the forest (we eliminated the santa after the first year...in fact, I'm not even sure we used him the first year either).
Last year, we chose a little girl toy that we already had, and built her this little "house".  We collected fallen branches from our yard, cut them down and nailed them together to build the stairs, the columns are branches that are cut down to the same size, and for the two floors, the boys drew out rough shapes on some scrap wood, which I cut using a jigsaw and then we sanded the edges.  At the time, the boys were 8 and 11 and it was one of the first projects they designed and built themselves (other than the chopsaw of course).

For the first few days of December, the boys would set up the little animal food that came in the original Playmobil set, and then the animals would come join the little girl at her house.  They liked this a lot better as they could move things around daily and set up little "scenes"...and of course, tell stories about what was going on in that little world.
This year, we added a little wooden table and stools, the wooden mushrooms, and the little planters filled with snippets from the yard.  We started a little bed as well, but we made it entirely to big to fit in the house.  (The top platform is maybe 4" and the whole thing is about a foot tall).

My goal is to eventually replace the little plastic animals with clay ones, but in 2 years, I have only made a mama hedgehog with a baby, an owl, and an egg, and only 2 have any paint an them at all.  Maybe by the time my kids are grown, I will have enough for the 24 days???

Our second advent calendar used to look like this:

Several years ago I glued 25 magnets to the back of little wooden shapes that I had in my stash.  I painted them to represent candies:
and ornaments:
and winter or holiday images:
Each day, they move one magnet down from the top to decorate the tree, and reveal the date under the magnet.
The tree was just a quick hand drawn image on paper that was attached to our stove with more magnets.  I had run out of time to make the one I wanted, and ...well...it just never got done.  This year, I am finally making the tree.  It is wool (the trunk and branches) and cotton (the needles) on linen (hand woven by my grandmother).  This is how far I have gotten so far:


I still need to finish the needles and add the dates along the bottom, and make some sort of pockets on the back to insert magnets.  I have a week and a half left, right?  I really hope to finish in time.

If you are working on something you would like to share, leave a link in the comments.  Happy Making!