A little while ago I found a fantastic idea for
crate seats at a day in the life of miss kranz via pinterest. I thought they would be positively fantastic for camping...bring up the camping gear in them, and then sit on them once they are empty (or still full, whatever).
I happened to have some empty milk crates and a bunch of scrap materials so here we go:
I would guess that milk crates are standard size, so I am including my measurements. You may have to adjust if you are using a different crate.
For each seat, you will need a 13" x 13" piece of wood for the top (or whatever the dimensions of your crate are) and a 12" x 12" piece for the insert (so the seat doesn't wiggle around, you know). My husband happened to be out in the garage one day, so he willingly cut them for me from a trunk we had taken apart. So far - all scrap.
Then I cut 13" x 13" squares from some 3 or 4" foam (this used to be a cushion on said trunk that was taken apart, but lately, the cat has been sleeping on it).
It was pretty thick so I had to go through it layer by layer. It took three passes to cut through it.
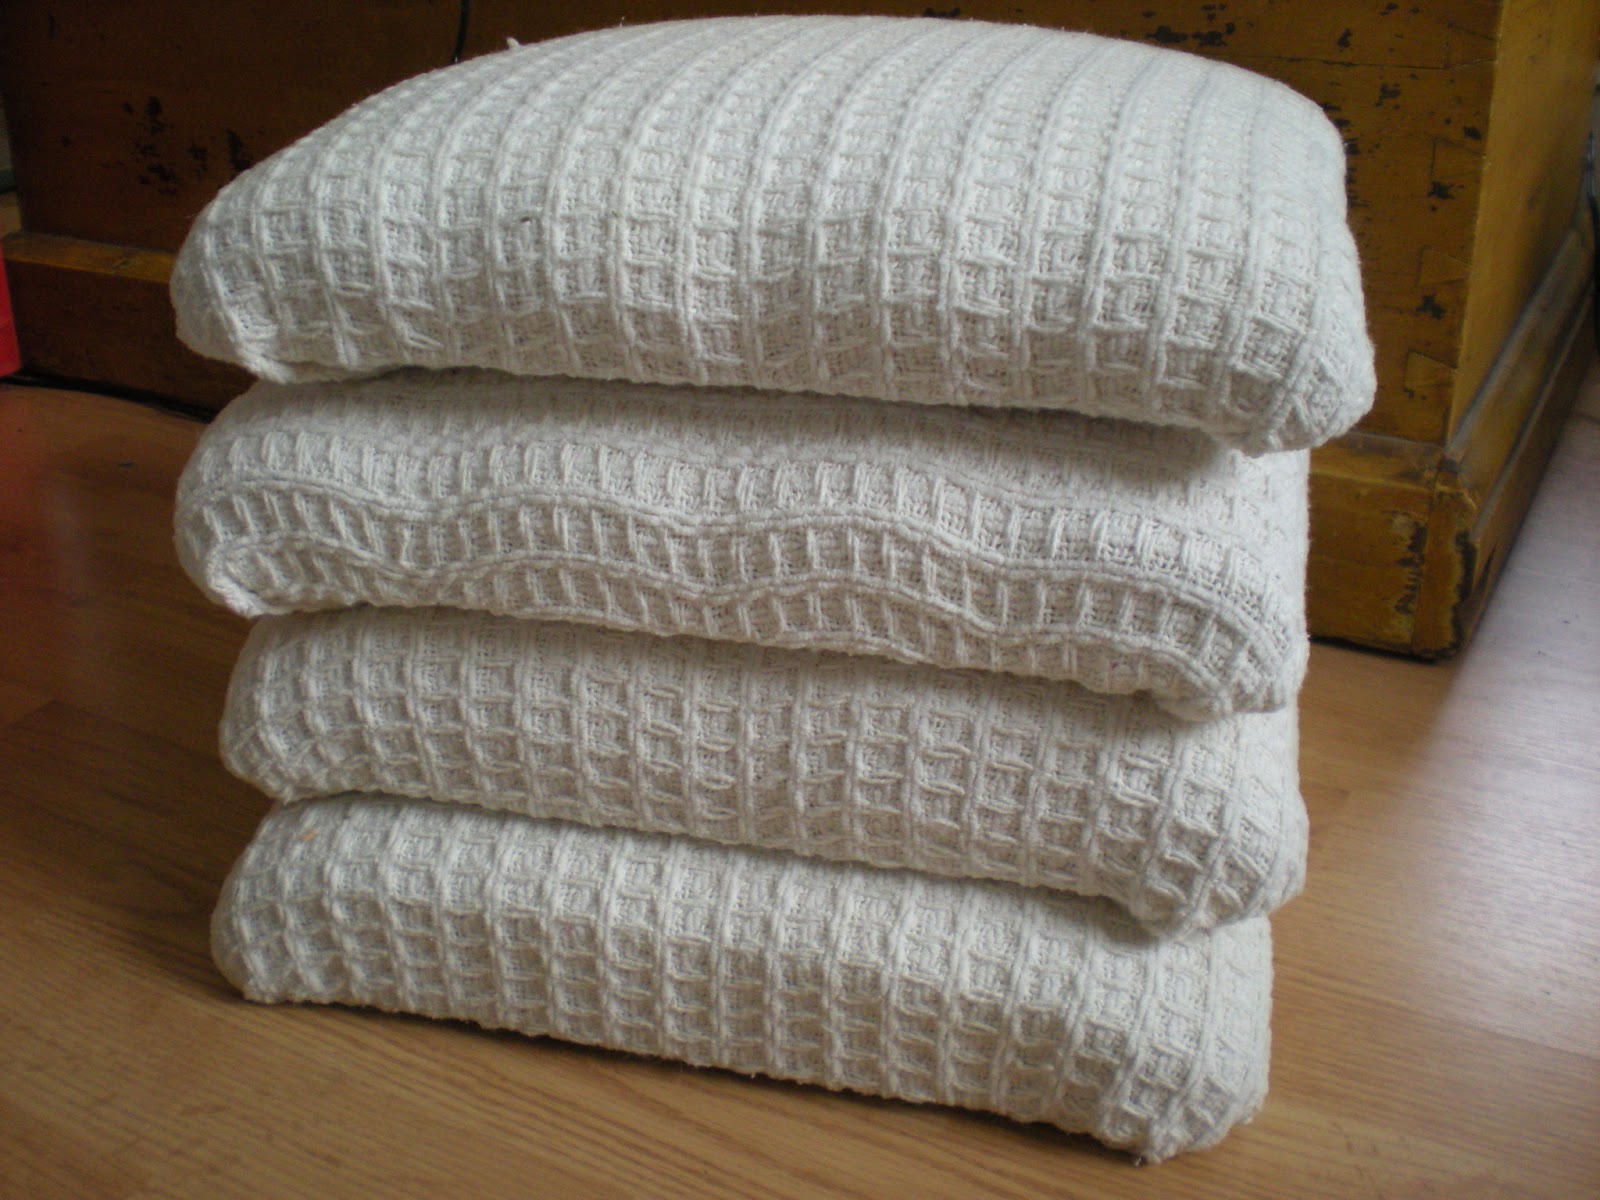
By all means, feel free to use thinner foam depending on what you have around. I had planned on adding a layer of quilt batting over the top to smooth the edges, but I was all out. I did happen to have a baby blanket that had a stain on one end, so I cut out 4 squares 19" x 19" to layer on top instead.
The "blanket" goes on the bottom, then the foam, then your larger wood square on top. Pull the blanket up snugly in the middle of one side and staple in place. Then do the same to the middle of the opposite side, then the middle of the two remaining sides. This will help make sure it is all neat and tidy and doesn't shift around while you work on the corners.
Keep the corners as neat as possible so that you don't have a problem with the second layer.
It should look something like this...
I actually really really like them just like this...but they are for camping, so can you imagine how dirty they would get?
Now repeat the process with a nice sturdy fabric (I cut three squares from the old cushion I mentioned before, and one square that was left over from last week's floor pouf). I cut this fabric a little bigger so I would have plenty to work with to make the corners neat even over the first layer. Once your centers are stapled in place, pull the corner down, staple it, then tuck in and pull while it is held in place with the staples.
Last step: lay the 12" x 12" piece of wood in the centre and drill a screw into each corner.
I inset the screws to avoid drilling through too much fabric. My plywood was 3/4" thick so I used 1 1/4" screws on three of the seats. The seat with the thickest fabric (and not so tidy corners, I must admit) did not hold with 1 1/4" screws because there was just too much fabric in the corners. I used 1 1/2" for that one, and I put a screw in the middle of the seat as well as the corners.
The 12" x 12" wood piece fits just perfectly inside the milk crate, while the rest of the seat sits on the rim. It is sturdy, and quite comfortable actually....and it was all scrap/ re-use/ things I had on hand. Total cost for 4 camping seats with storage: $0.00. If the fabric wears out, I just need to unscrew the 4 screws and change it. I may consider doing something about the crate itself down the road...I am not overly fond of the red plastic, but it's camping, so I won't be picky!
Linking up with:
Backyard Farming Connection Hop #19
Keep Calm Craft on over at Frontier Dreams
Eat Make Grow Blog Hop - no Buy February at Foy Update
stash bash over at Crunchy Catholic Momma
a new blog hop I found over at Frugal by Choice, Cheap by Necessity
Creative Friday over at Natural Suburbia
The Homeacre Hop over at the Self-sufficient Homeacre
Eco Kids Tuesday at Like Mama Like Daughter


How clever! I love the corduroy.
ReplyDeleteWhat a clever idea- thanks for sharing!
ReplyDeleteThese are awesome! What a great way to repurpose what you have! Please link up some of your great ideas to my weekly blog hop. there is one open here: http://repurposemylife.com/re-purposed-ideas-weekly-22-caught-ya-good-jar/
ReplyDeleteAnd the next one starts Friday night.
Hopping over from Crunchy Catholic Momma's Stash Bash. Wow, love the way you repurposed those ordinary things and made them into something more useful! So clever! Added you to my Google reader--would love to keep seeing your creativity!
ReplyDeleteCheryl
http://www.diary-of-a-sower.blogspot.com
http://www.creativegiftgiver.com
Wow!! I made the same exact thing when I first started homeschooling 15 years ago. I needed small chairs for my kiddie table and was broke so I made due. They would be perfect for camping!!
ReplyDeleteWhat a fantastic idea!!! Love it!
ReplyDeleteAwesome! Thanks for sharing this on The HomeAcre Hop! Here's the link for the next hop :)
ReplyDeletehttp://www.theselfsufficienthomeacre.com/2013/02/the-homeacre-hop-7.html
way awesome. totally like these! They'd be great as stadium seats as well.
ReplyDeleteOh goodness, that's a great idea. You could even cut a handle in the wood. I think I am going to have to get back to work...I still have a piece of foam left over. Thanks for the idea.
DeleteGreat idea! We recently bought avintage (read as OLD) pop-up and this would great for extra seating! Thanks for sharing this with us at Eco-Kids Tuesday! Hope to see you again today! http://likemamalikedaughter.blogspot.com/2013/02/bunnys-bento-box-eco-kids-tuesday.html
ReplyDelete