My inspiration was found on Pinterest (of course) and comes from the really clever blog blah to ta-da.
Isn't it pretty? In my recent search for craft show display ideas, I have determined that almost all of the ones out there are for jewellery. I find that odd. Anyways...
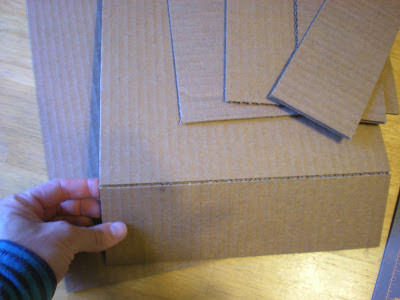
For my display, I cut the following pieces: 2) 9" x 15", 1) 9" x 6", 4) 9" x just under 3". The two largest were scored 3" from the bottom......enough to bend, but not cut all the way through.
I glued them to the 9" x 6" base (I used white glue because I couldn't find the carpenters glue and I find that both work better on cardboard than hot glue...use whatever glue you fancy).
Then I glued two layers of the 9" x almost 3" on top of the base to make it a little more sturdy.
Tape off all your edges. In hindsight, if your cardboard is plain (not printed all over the place) and you use some cute washi tape or fancy duct tape, you could stop here. I painted mine with the same leftover paint I used for all of my signs - matchy, matchy.
Draw on all of your frames...this was the hard part for me because my gift tags change every season so I opted to make them all bigger than necessary so my tags will (hopefully) always fit inside. Punch a hole through (I used a needle, then a bigger needle, then a nail, then a bigger nail because I had to have room for the string).
These tags are a little small for the "frames" I find, so I may draw a second set on the back for small tags, and leave these larger ones for the larger tags. Or...I will just mix large and small since this set looks a little blah on it's own.


No comments:
Post a Comment