Showing posts with label packaging. Show all posts

Friday, 27 March 2015

Fixing Paper Bag Handles.

Ok, here's the thing...I don't have room in my house to store a bulk order of paper bags, but I did need some for a craft show last year.  I happened upon some at a Dollar Store and thought they would do just the trick as I could buy only as any as I thought I would need for the show.  Well, as these things normally go...you get what you pay for.  These bags might be fine to hold yarn, or baby slippers, or something like that, but certainly not pottery.  The handles kept ripping out!  I finally decided it was time to go ahead and fix the handles - and if you are in a similar situation, here's what I did:
 These particular bags just had a thin piece of tape holding the handle down (which I couldn't see at the store as there was a paper wrapper holding them in packages of three).
 I cut the tape and peeled it off the handle...
 ...hot glued the handle back in place...
...and then covered the whole thing with a layer of packing tape.  
Times two sides per bag.
Times 35 bags.  What else was I supposed to do with them?
But my lesson is learned, and after I use them up I will be returning to the fabric bags I have been making the whole time the paper bags were in the "to fix" pile.

Wednesday, 18 March 2015

Button packaging

Now that I have a few "craft" shows under my belt, it's time to ramp up the packaging before the next round of shows starts.  I've been working on different packaging options for a couple of weeks, and thought I would share the process for what I have decided on for button packaging in case anyone wants to make their own.
Please note that these were made with a standard printer, card stock from the office supply store, and the Paint program that came with my computer.  A totally DIY project if you have some time to invest.
I started by googling (that's a verb now, right?) an image for free border clip art.  There are a few you can download for a couple of dollars, but since I wasn't 100% decided at the time, I decided to go for a free one.  Make sure you save it as a .jpg file.
Then I opened it in Paint and used the text application to add "Handmade Buttons" at the top in the same font as my logo and my contact info at the bottom.  You can adjust the location and the size of the font while the text window is open, but AS SOON as you click anywhere else on the screen it will close the text window and if you want to remove it, you have to erase it, or undo.  NOTE: make sure you save the file under a new name every time you add something.  That way, if you need to go back to edit something (like if you don't like the size of something) you can just erase the one item without having to start over from scratch. 
For the shorter button cards, I just used the "Cut" function and removed a piece from the center, moved the bottom to line up with the top, and then cropped the whole new card as a square without the blank bottom portion.  (This will make much more sense if you have Paint open in another window while you read this - you know, if you're trying it out).
To print multiple cards per page, I had to be in the documents section of my computer (not in Paint).  Left click on the file and it will give you the option to print (as a photo) and then I just put 4 per card for the large button cards (the blue buttons at the beginning of this post).  It happened to be just the right size.  For these little guys, I had to open a WORD document, set the page to 3 columns, and then insert them into what would normally have been the text.  You may have to play around with your margins to get them to fit.
This is the basket I found for them at the thrift store for $1.00!  It's like it was made for them.

NOTE:  I used to have "Remembrances" written on the top of my old button cards and at my last craft show someone asked me what they were.  Like a goober, I answered "They're buttons" not knowing what she meant...and then I realized that my business name wasn't up anywhere in the booth (other than on business cards) because there were three of us sharing as part of the Potters' Guild.  So, long story short...I have changed the wording from "Remembrances" to "Handmade Buttons" and hopefully they will get the name from the bottom of the card.
So, what I'm saying is...even though I keep reading that you should "make what you make" and pay someone to do the rest of it, or outsource jobs--- at the beginning stages of growing your business, I think it is perfectly fine to try things out yourself.  You may just surprise yourself.  I did.

Linking up with:
There's still about one week left to get the 15% discount on items in my etsy shop...
head on over to this Frontier Dreams post to find the discount code.

Monday, 20 January 2014

Playing around with gift tag ideas

Yesterday I was working on a blog post for the Rural Creators' Collective, and I think I may have come up with this years' gift tags.  You can see the full post on the link above, but the ideas I think I may work with for myself are here.
I picture these strung on a length of yarn and wrapped around the package.  Each package can have a different word, maybe?

 I am really liking the lady bugs for spring gift tags.

And this may be the idea I use throughout the year...the picture is from an old, ripped picture book and is just modge podged onto the branch slice.  I think I will make up a big batch for all seasons, and then a separate batch for Christmas gifts for the teachers.

Did you work on any quick crafts this weekend?


Tuesday, 15 October 2013

DIY Birch branch packaging from cereal boxes

Handmade Holidays - another packaging upcycle...

I like to get as many things as possible ready in advance once the holiday season approaches.  I like to wrap gifts early to get them out of my closet, BUT, I don't like having them under the tree early as I think it puts too much emphasis on the gifts, and over stimulates children.  I think I have come up with a solution:
These faux birch branches can go out early, as part of the decorations, and I am the only one who will know they are stuffed with little gifts.  They are pretty easy to make, too:

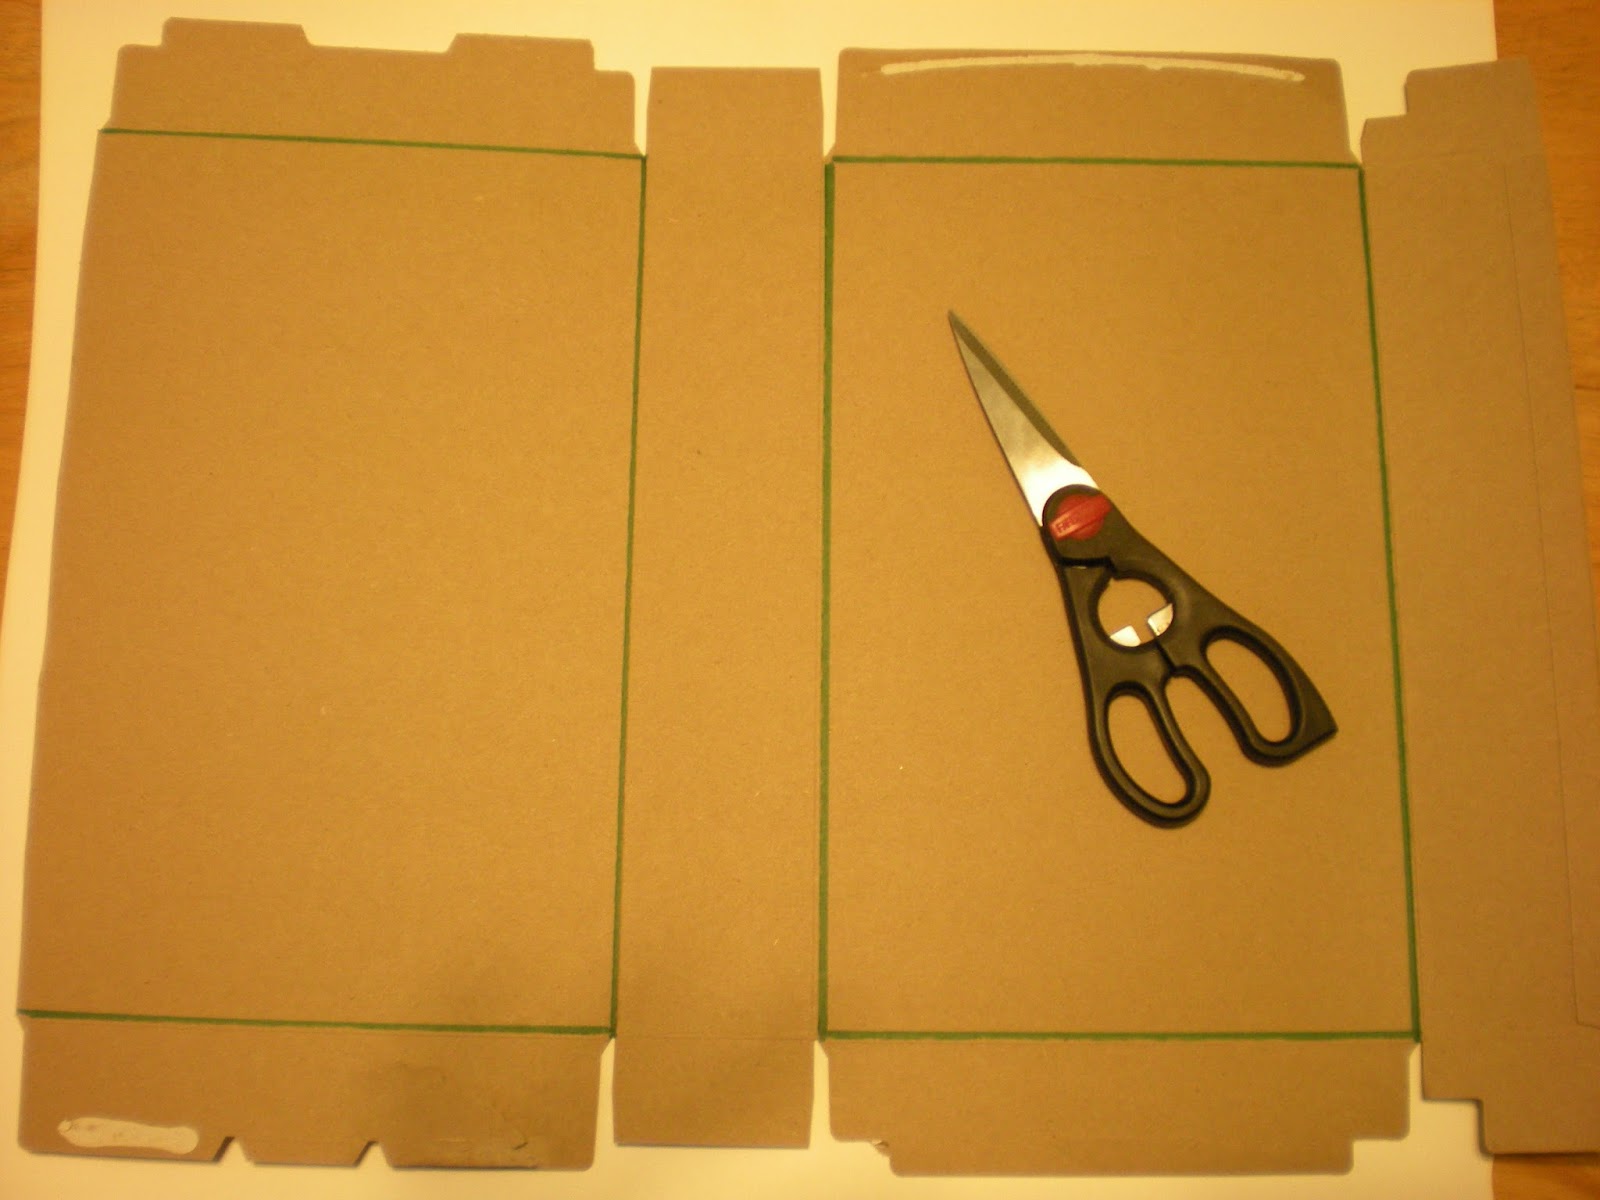
You will need:  cereal boxes (one box makes one branch, but 2 boxes makes 3 branches)
                        a tube to wrap the cardboard around - the "shaper" (I used a tube of caulking)
                        a circle to trace that is larger than your tube (I used a mason jar lid) 
                        carpenter's glue
                        white paint, paint brush, brown markers (or black)
Note:  You can make a short, thick branch, or a longer thin branch depending on which way you wrap your cardboard...just keep it in mind when painting (to follow).

Cut your cereal box to the size you need to fit around the tube, making sure to leave enough space to overlap.  Using white craft paint, lightly brush on streaks to represent the paper-like birch bark.
 Continue layering on the paint until you have the look you like.

Loosely wrap the "bark" around your tube "shaper", run a bead of carpenter's glue along the edge and use rubber bands to secure it in place. Allow it to dry completely before pulling out your "shaper".
Add some birch markings to your "branch" using markers, pencil crayons, or paint.

Trace your "shaper" onto the cardboard and then trace a larger ring around it. Use a pencil, and mark it lightly so that it won't show when you are done (or mark it on the patterned side).  Here, I traced the caulking tube for the inner ring, and the mason jar lid for the outer ring.  Note: you want your cap to fit INSIDE your finished cardboard tube, so when cutting your notches, you want to go all the way inside the inner line.
Draw on the notches that you need to cut, as in the picture above.  If you are doing this with a child, I recommend marking the cutouts all the way around.  If you are doing it yourself, you can eyeball it.
Cut the notches.  I didn't go far enough here, so I had to go back and cut the slits a little longer, to go to the inside of the inner ring.

Draw the growth rings on the cap.  I made mine all wonky and freehand, but you could use a stencil or compass if you like.

Bend down all of your tabs, making sure to bend them far enough to fit inside your bark tube.

Run a bead of glue inside the tube, close enough to the edge that your tabs will reach.

Insert your cap and let it dry.

 Insert your little gift.

Glue the remaining cap on the other end.
Ta-LAAA!  A couple of little presents that will be camoflauged as decorations.  Sneaky sneaky.  I plan to do this with anything that will fit in the tubes...I would like a good little pile of them.  I might even leave some empty ones on top.

                          Wildcrafting Wednesday at Mind Body and Sole 
                          Creative Friday at Natural Suburbia
                          From the Farm Hop at Fresh Eggs Daily
                          Homemade Monday on Frugal by Choice, Cheap by Necessity 
 

Tuesday, 20 August 2013

DIY packaging #2

In case you missed it, my first batch of cereal box packaging can be found over here.  I still needed something a little larger, and came up with these:


They are quick and easy to make, because they take advantage of the fold lines already in cracker and cereal boxes.  Here's the how to:
Cut open the box to lay it flat.  You will want to cut along the side that is glued shut.
 Mark the center of your box at the top and lay your template down to trace.  I found that no two boxes in our cupboard were the same size, but that the template still fit on all of them.  (More on making your template later on in this post - seems backwards, I know, but bear with me).
 Trace the template on both sides of the box, and add tabs as indicated in the photo above.  Cut along all the blue lines.


Using a straight edge, make a fold in the side panel.  Make sure that you are at a 90 degree angle from the existing folds in the box.
 I punched holes in mine to add a ribbon.  You may choose to cut a handle instead, or punch just one hole...
Run hot glue Edited to add:  the hot glue only lasted one day before cracking apart again.  I will stick with my trusty carpenters glue - just make sure to clip it with a clothes pin or weigh it down while it dries.  Run glue along one of the tabs  - whatever side is going to be the OUTSIDE of the box, is the side that gets the hot glue...
 ...and press it firmly into place, hold it down  clip it with a paper clip, clothes pin, alligator clip, etc long enough for it to dry.  Repeat with the other four tabs.
Ta-la...you have a package.  If you are normally of the "tissue paper pouf in a gift bag" persuasion:
 you are pretty much done.


Now, for the  template...  I drew the first one free hand.  Well, more specifically, I drew HALF of the template free hand, cut it, and then folded it over to draw the other half exactly the same.
  
For round two:
 I traced the pottery plate that was going into the package so that it would fit perfectly...added my branding sticker, a ribbon and a pottery button and my eco-friendly packaging for a door prize was finished.
 Top view - it's the exact same size.

Then, I tried a cracker box:

I traced a lid...find any size or shape that you want if you don't want to try freestyle...
 ...and used a straight edge to join it down to the bottom (still making sure to center it).
 Cut the same tabs,
 
and then have some fun with it.

Quick, easy, from the recycle bin, and customizable.  A win on every level.

Linking up with:  Keep Calm Craft On over at Frontier Dreams
                          The hop at the Backyard Farming Connection
                          Wildcrafting Wednesday at Mind Body and Sole
                          Transformation Thursday at The Shabby Creek Cottage
                          Creative Friday at Natural Suburbia

Wednesday, 31 July 2013

DIY eco-friendly packaging

 
 I needed some packaging for the next "craft" show I am doing.  This one is kind of a pioneer fair/old-fashioned mercantile kind of show.  The hostess has asked that we do not have any plastic packaging materials...which suits me just fine.  It's an eco-friendly show, so what better material to use than my huge pile of cereal boxes?
To get the biggest packages possible, I cut right along the seams of the cereal boxes.  If you need tiny packages, you could use cracker boxes.
 Mark a "tab" at 5/8" from one edge.  Measure the rest of the rectangle and mark it lightly with a pencil along the halfway line.  This line will be visible on the outside of the box if it is too dark.
 Use a compass, a plate, a lid...anything round to mark an arch across each of the four sections.  Note: a small plate will give you a deep (height), narrow box.  A big plate will give you a box shorter in height, but it will be wider across.
 Cut along the arches, and taper off your "tab".
 Use the same "circle" to trace 4 arches that are mirror images to the outside of the box.
 Using a straight edge and scissors, or a knife, or a sharp tool, score the middle line of the box as well as the "tab" line.  You will also need to lightly score the 4 interior arches.  Note:  You need to score the OUTSIDE of the box.
 Fold the box.  Spread a bit of glue on the tab (I found hot glue did not work for this...my favourite for this project is actually carpenter's glue, but white glue works).
Apply pressure to the glue - use clothes pins, alligator clips, paper clips...whatever works for you - and let it dry completely.
 Tuck in the flaps one by one by pinching along the score line.
You can glue one end shut as well if you choose, but mine need to flat-pack, so I am not gluing them.  The ribbon will hold everything nice and snug.  For my show, I am leaving them pretty plain, but I might whip up several of these for tiny gift boxes that can be embellished with yarn, ribbons, pompoms, etc.
I also wanted to make sure I could add a handle to these for people who are walking around the show, viewing other booths, eating, petting alpacas...whatever.  Rearranging the ribbon and tying it in a snug know actually makes a really sturdy handle.  I am also adding a sticker which matches my sign to help people remember me....yep, even though they will likely recycle the package the minute they get home...cuz that's how I roll.  So there you have it, pillow box packaging made from upcycled cereal boxes for an eco-friendly show.

Linking up with:  Wildcrafting Wednesday at Mind Body and Sole because what better way is there to save money and resources than to make it yourself, upcycled from what you have on hand?
                          Creative Friday at Natural Suburbia