Showing posts with label stash bash. Show all posts

Wednesday, 6 March 2013

A one-piece Log Cabin "quilt" block

For some time now, I have been meaning to try my hand at making a knit quilt block with some of my left over bits of yarn.... a one piece quilt block that I wouldn't have to sew a million seams on.
Ta-da.  If you knit it in cotton, I think it would make a great dishcloth.  If you knit a bunch of them, you could sew them up together to make a scarf or a blanket.  If you continue on with the pattern, you could make a crib sized log cabin block without having to sew all those pieces together...

So, without further ado...the pattern:

-I used Bernat Satin worsted weight yarn because that's what I had to use up.  One ball of each colour will make several blocks, or you can use just one colour, or you can just use up little scraps.
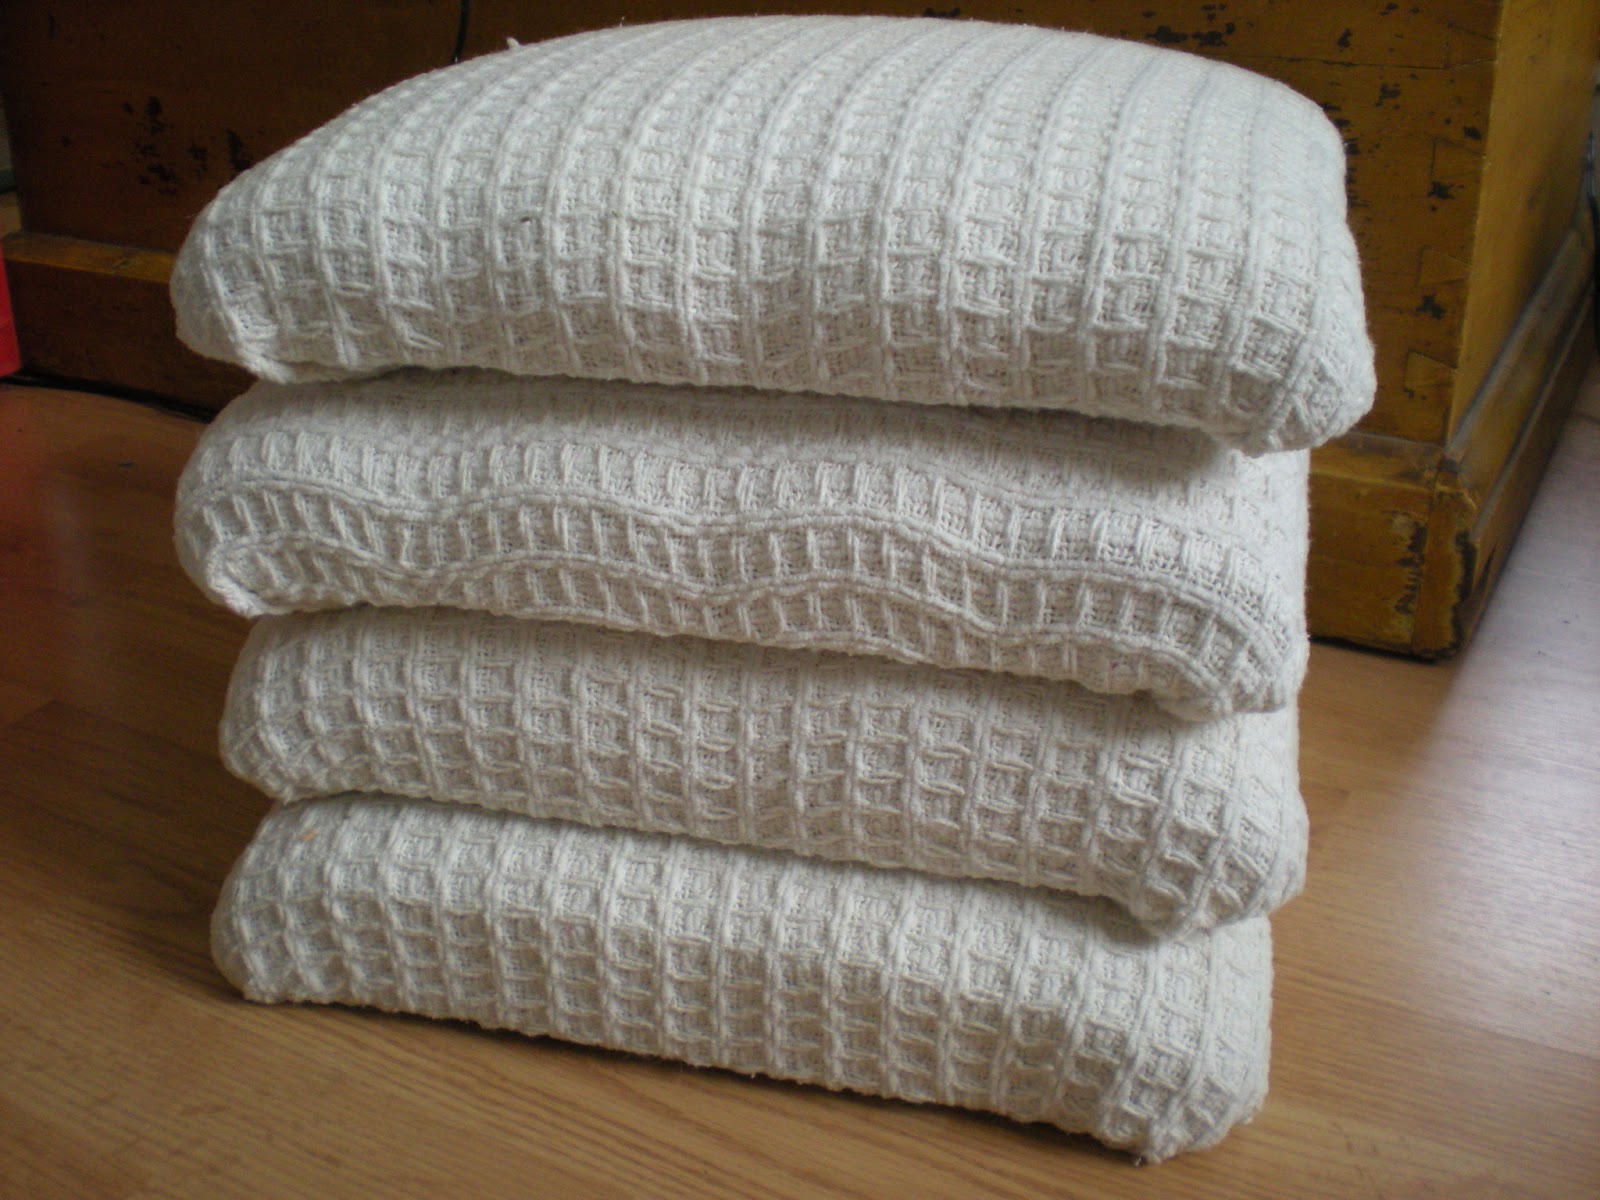
-4mm needles- 2 for knitting and a few extras for holding the stiches while you work the next section
-One each 2", 3" and 6" stitch holders
-Gauge:  12 stitches and 24 rows in garter stitch is a 2" x 2" square.  Gauge is not terribly important unless you plan to make a blanket...then you just want to make each square the same size.

Cast on 12 stitches of colour A.
Knit in garter stitch for 22 rows.  Break yarn.
Continue knitting in garter stitch, using colour B, for 12 rows.
Transfer all 12 stitches to 2" stitch holder.
Turn work counter-clockwise.  Pick up 18 stitches along right side of work, starting with 6 stitches of colour B and then 12 stitches of colour A, as below:
I used a larger stitch holder in this pictureUse whatever size you have for the small pieces.
Note:  It is important to pick up the stitches in the correct direction to make sure the colour changes appear on the back side of the work.  Although you pick up colour B first, you will knit the colour A stitches first.
  
This is how the colour changes will appear on the back of your work.
 
Note 2:  If you are making a block in one solid colour, reverse the directions as the colour change will not affect your piece, and you will have fewer ends to weave in, if any.

Knit the 18 stitches you picked up using colour C and continue knitting in garter stitch for 12 rows.  
Break yarn.
Transfer the 18 stitches of colour C to a 3" stitch holder.  Turn work counter-clockwise.

Pick up 6 stitches along the edge of colour C and 12 stitches of colour A as shown below:
Knit using colour D, in garter stitch, for 12 rows.  Break yarn.
Transfer the 18 stitches to a stitch holder.   Turn work counter-clockwise.

Pick up 6 stitches of colour D, 12 stitches of colour A, and 6 stitches of colour B.  Knit the 24 stitches in colour E for 12 rows of garter stitch.  
At this point, I stopped transferring the stitches to stitch holders because I ran out of them, quite frankly.  I had extra 4mm needles, so I just left them in place to hold the stitches as I continued working.  Use whatever feels best for you.
Turn work counter clockwise.  Pick up 6 stitches of colour E, transfer the stitches from the stitch holder to your knitting needle, and then pick up 6 stitches of colour C.
Knit 12 rows in garter stitch of desired colour.
Continue along in the same manner until your "quilt block" is the desired size.  The instruction that follow are for binding off an 8" square.
Binding off:  Using the yarn you choose for the border, bind off the 48 stitches of the last row (the row currently on the needle) leaving the last new stitch on the needle to use in turning the corner.
Turn your work clockwise and pick up 6 stitches from the top edge (as pictured on the top needle, above).  Bind off the 6 stitches and then continue binding off the rest of the row (if you are using a stitch holder, you will have to transfer the stitches to a knitting needle to bind off).
 
Turn your work clockwise and pick up 6 stitches.
Bind off those 6 stitches and continue binding off the rest of the row.  Repeat for the last side of the block, picking up and binding off the last 6 stitches to complete the border.

 On the back side, weave in the ends as neatly as possible.  


 The ends should just about disappear.
 Now, why not make a few more to make up a scarf?  Or a "quilt"? 

Linking up with:  Yarn along at small things
                          Stash Bash at Crunchy Catholic Momma
                          Permanent Homeskills linkup at the Backyard Farming Connection
                          Home acre hope # 9 at the self sufficient homeacre
                          Eat Make Grow at Pocket Pause 
                          Fiber Arts Friday at Wisdom Begins in Wonder
                          Creative Friday at Natural Suburbia

Thursday, 21 February 2013

Working my way through my Grandmother's Stash


Around the time my grandmother turned 95 or so, she was no longer able to remain in her home full time.  She was able to keep her home, and go spend a day or so there at a time, but for the most part she was in a nursing home.  During one of her visits to her home, she packed up a rather large fabric stash for me and sent it my way via my parents.  She has since passed a way, and for a while, I couldn't bring myself to cut into most of the pieces.  Since then, though, I have been working my way through the stash bit by bit - because that is, after all, the reason she sent it to me in the first place.  Enter:  the picnic bowl cover I saw on Meadow Magic.  I thought the fabric pictured above would make a lovely set of picnic bowl covers...
  ...and also in the stash was this piece of quilted material that I used as the inner layer.  Exactly enough to make two covers.  I simply cut my two kinds of fabric to the same size as the quilted material, serged 3 edges, and flipped it inside out.  I then folded under the last edge and sewed it shut, continuing all the way around the rest of the square to make it neat and tidy.

 The picnic bowl cover at Meadow Magic used fabric loops at the corners with caribeener style clips to hold down the corners, but I wanted a quick project.  She also referred to one that uses grommets in the corners, but I didn't have any on hand.  What I did have on hand was a handful of alligator clips and a variety of red beads from my sister.
I put a bit of beading wire through the alligator clip, strung on a couple of beads, and viola!
I made two covers and then sewed the rest into a rather long tea towel.  I will need to make some smaller ones I think, since this one is on the largest bowl I own...I guess I wasn't thinking.

 Here's a shout out to Kathryn at Kathryn's Brain.  On her "things that work" post last week, she said that if you bite a match while cutting onions, your eyes won't water.  It reminded me that I had heard if you light a candle, your eyes won't water - a huge problem for me.  I cut all the onions on the board without my eyes watering, and N was mesmerized by how much the flame was crackling, snapping, and fizzing during the process.  And since he was in the kitchen...
 ...I put him to work...(he's on a stool there...he's growing, but he's not quite that tall yet!)
...so we could have two pots of soup instead of one.  Ta-la!

Linking up with: Stash Bash with Crunchy Catholic Momma
                         The HomeAcre Hop #7 at the self sufficient homeacre
                         Fiber Arts Friday at Wisdom Begins in Wonder
                         Creative Friday at Natural Suburbia
                        

Monday, 11 February 2013

Using what I have - Camping Seats

A little while ago I found a fantastic idea for crate seats at a day in the life of miss kranz via pinterest. I thought they would be positively fantastic for camping...bring up the camping gear in them, and then sit on them once they are empty (or still full, whatever).


I happened to have some empty milk crates and a bunch of scrap materials so here we go:

I would guess that milk crates are standard size, so I am including my measurements.  You may have to adjust if you are using a different crate.
For each seat, you will need a 13" x 13" piece of wood for the top (or whatever the dimensions of your crate are) and a 12" x 12" piece for the insert (so the seat doesn't wiggle around, you know).  My husband happened to be out in the garage one day, so he willingly cut them for me from a trunk we had taken apart.  So far - all scrap.


Then I cut 13" x 13" squares from some 3 or 4" foam (this used to be a cushion on said trunk that was taken apart, but lately, the cat has been sleeping on it).

 It was pretty thick so I had to go through it layer by layer.  It took three passes to cut through it. 
By all means, feel free to use thinner foam depending on what you have around.  I had planned on adding a layer of quilt batting over the top to smooth the edges, but I was all out.  I did happen to have a baby blanket that had a stain on one end, so I cut out 4 squares 19" x 19" to layer on top instead.
The "blanket" goes on the bottom, then the foam, then your larger wood square on top.  Pull the blanket up snugly in the middle of one side and staple in place.  Then do the same to the middle of the opposite side, then the middle of the two remaining sides.  This will help make sure it is all neat and tidy and doesn't shift around while you work on the corners.

Keep the corners as neat as possible so that you don't have a problem with the second layer.

 It should look something like this...
I actually really really like them just like this...but they are for camping, so can you imagine how dirty they would get?

Now repeat the process with a nice sturdy fabric (I cut three squares from the old cushion I mentioned before, and one square that was left over from last week's floor pouf).  I cut this fabric a little bigger so I would have plenty to work with to make the corners neat even over the first layer.  Once your centers are stapled in place, pull the corner down, staple it, then tuck in and pull while it is held in place with the staples.

Last step: lay the 12" x 12" piece of wood in the centre and drill a screw into each corner.
I inset the screws to avoid drilling through too much fabric.  My plywood was 3/4" thick so I used 1 1/4" screws on three of the seats.  The seat with the thickest fabric (and not so tidy corners, I must admit) did not hold with 1 1/4" screws because there was just too much fabric in the corners.  I used 1 1/2" for that one, and I put a screw in the middle of the seat as well as the corners.
The 12" x 12" wood piece fits just perfectly inside the milk crate, while the rest of the seat sits on the rim.  It is sturdy, and quite comfortable actually....and it was all scrap/ re-use/ things I had on hand.  Total cost for 4 camping seats with storage:  $0.00.  If the fabric wears out, I just need to unscrew the 4 screws and change it.  I may consider doing something about the crate itself down the road...I am not overly fond of the red plastic, but it's camping, so I won't be picky!

Linking up with: Backyard Farming Connection Hop #19
                         Keep Calm Craft on over at Frontier Dreams
                         Eat Make Grow Blog Hop - no Buy February at Foy Update
                         stash bash over at Crunchy Catholic Momma
                         a new blog hop I found over at Frugal by Choice, Cheap by Necessity
                         Creative Friday over at Natural Suburbia
                         The Homeacre Hop over at the Self-sufficient Homeacre 
                         Eco Kids Tuesday at Like Mama Like Daughter 

Thursday, 7 February 2013

Using up and making do...

...this one is about finishing up projects.

 I have finally finished my "floor pouf".  I started it so long ago that I can't find it in my archives.  It was inspired by a picture at maya made when she released her book.  It is made with some random piece of thick fabric from my stash, a zipper salvaged from a pair of old coveralls at work, and it is stuffed with...
... all kinds of bits and pieces.  Fabric bits too small to use, failed projects that can't be salvaged, strange pieces of material passed on to me by others (that aren't nice enough to be used in other projects), and the trimmings from the crocheted T-shirt rug project.  It took me months and months to stuff this pouf bit by bit (hence, the zipper).  I brought it out to show the family when the last bit of stuffing went in and they quite literally dove on it.
S wants one made out of old jeans, and N wants one too - he's not too particular what it will look like, so I will be saving every single piece of scrap for the next long while to stuff some more.

 I have also finally used up the herbs I had dried this past summer (the non-food herbs that is) to make a quite large sachet for the linen closet.
This one is stuffed with lavender, penny royal, mint and tansy because that's what grew well enough to harvest enough to stuff a bag.
 Remember the dyeing with walnuts post from the fall?  I just kept throwing fabric into the pot to see what else I could dye...this is the last piece that went in.  It didn't come out as I had hoped so it was in the reclaim pile.  I folded it in half, serged two sides, stuffed it, and then used some "lavender" embroidery floss to sew it shut.
I think it is so pretty!  It kind of looks on purpose, even though it was made with scraps.  I love when that happens.  Also, a note - the blanket stitch was added because when it is time to replace the herbs inside, it will be super easy to rip that out and refill it.

And because it is three things on Thursday:
#3) patience pays off.
I have been looking for a stainless steel tea kettle for camping for the last several months.  I didn't want to buy a new one (but I almost did when they went on sale 1/2 price).  I picked this one up yesterday from our local on-line perpetual garage sale for a great price.  Now I'm so glad I waited.

                         The HomeAcre Hop over at the self-sufficient homeacre
                         Backyard Farming Connection Hop # 19  
                         Keep Calm Craft on over at Frontier Dreams
                         Eat Make Grow Blog hop at Foy Update  
                         Wildcrafting Wednesday at the self sufficient homeacre


Monday, 23 July 2012

Using what I have...an update

Inspired by the lovely Tricia at Crunchy Catholic Momma, I have finally started on my next rag rug.  Well, at least I have started preparing for my rag rug.
I have been collecting all of our outgrown, stained, or torn T-shirts for a long while.  I have finally gotten around to cutting them into long strips to crochet a rug.
To make the strips, I cut the bottom off at an angle:
 Then I cut the bottom portion of the shirt into 2" strips almost, but not quite, all the way through.
 Then I open it up to the part that is still attached.  I start at the seam and cut up into the next opening, and then I cut at a diagonal from one opening to the next until the whole shirt is one long strip.
Each ball in the top picture is one t-shirt.  The part above the sleeve holes is being cut into rags that I bring to work, and any unusable parts are being inserted into my "floor poof" to stuff it.  So really, this project is pretty much zero waste.

I'll be linking up with Keep Calm Craft On over at Frontier Dreams on Tuesday and
Stash Bash over at Crunchy Catholic Momma on Thursday.

 Edited Thursday to show my progress...
This is how far I have gotten...I have used my entire stash of 22 old T-shirts (not all mine).  Now I just have to wait until my husband goes back through his stash of t-shirts again to donate some more to my cause and I can finish it up.