Thursday, 21 November 2013

Handmade Holidays - slippers #2

S asked for a pair of argyle slippers in his stocking.   I haven't been able to find a pattern that suits, so I thought these "gentlemanly looking slippers" would fit the bill if I add a little bit of a diamond pattern on top.
 Just like slippers # 1, these are acrylic...but that's because S does.not.like.wool. (Wha???)
 I plan to use some black and white to add in a diamond/argyle pattern outline on the flat panel on top, but for now, they are in the Christmas bin until I finish up a few other projects.

The pattern is available as a free download on ravelry

but I originally found them over here on Pinterest, of course.
This is exactly how I will make my own pair when I'm all done with the Christmas knitting.

How are your handmade holiday projects coming along?

Wednesday, 20 November 2013

This past weekend's craft show.

Last Saturday, I had a booth at a craft show that was a school fundraiser for a friend of mine.  As usual, I forgot to take pictures first thing in the morning, but then it got really really slow, so I snapped a few.
 My mitten drying rack being used as a plate rack.
 My husband cut and dado cut all the wood for the cubbies in the back, so all I had to do was assemble them.  I really like how they turned out.  I might get him to make me some bigger ones too.  The ones in the picture are 6" x 6" and a few things are just a smidge too big to fit.
 A close-up of the cubbies.  I filled up the holes with packages and pinecones as items were selling so I didn't have big empty spots.
 Matchy matchy things.
Did I share the octopus mug?  I made it for my nephew's birthday (which was the day after the show) but I brought it along just to show something a little different.

And since it was so slow...I have talked myself into one more show before Christmas.

Tuesday, 12 November 2013

Handmade Holidays: slippers #1

I hadn't planned on knitting any slippers this year for Winter Solstice/ Christmas, but both boys surprised me by requesting some.  N asked for tall slippers like the ones I made last year, but I don't have an extra felted wool sweater to cut, so I made these instead:
For this year, sizing is pretty easy, since both boys' feet are almost exactly the same size as mine.
Next year...who knows.
I have a feeling these will be called "Nanaimo bar slippers".
They are knit flat and then seamed, an easy process and they have been knit for a week or so but I couldn't find some sneaky time to seam them up.  I just finished last night.  For all you experiences knitters out there - I am sure you can tell these were done in acrylic.  *Gasp*.  There's a reason for that...N is notorious for throwing his handknits in the laundry bin along with everything else even though we have a bag for woolens. 

I first came across the image over on this Pinterest pin but it took some serious tracking down to find the actual pattern.  Here is the link to the free pattern by way of The Seamen's Church Institute.
Just a note: the picture on the pattern doesn't look a whole lot like these, but they do take shape once you put them on your feet.

Happy handmade holiday making to you...

Linking up with: Keep Calm Craft On over at Frontier Dreams
                        Fiber Arts Friday at Wisdom Begins in Wonder
 

Monday, 11 November 2013

Craft show prep - photo blocks

When I do a craft show, if I don't have the space to display one of these vases with flowers in it:
like this:
then people always ask me what it's for (especially if it is the last one left on the table).

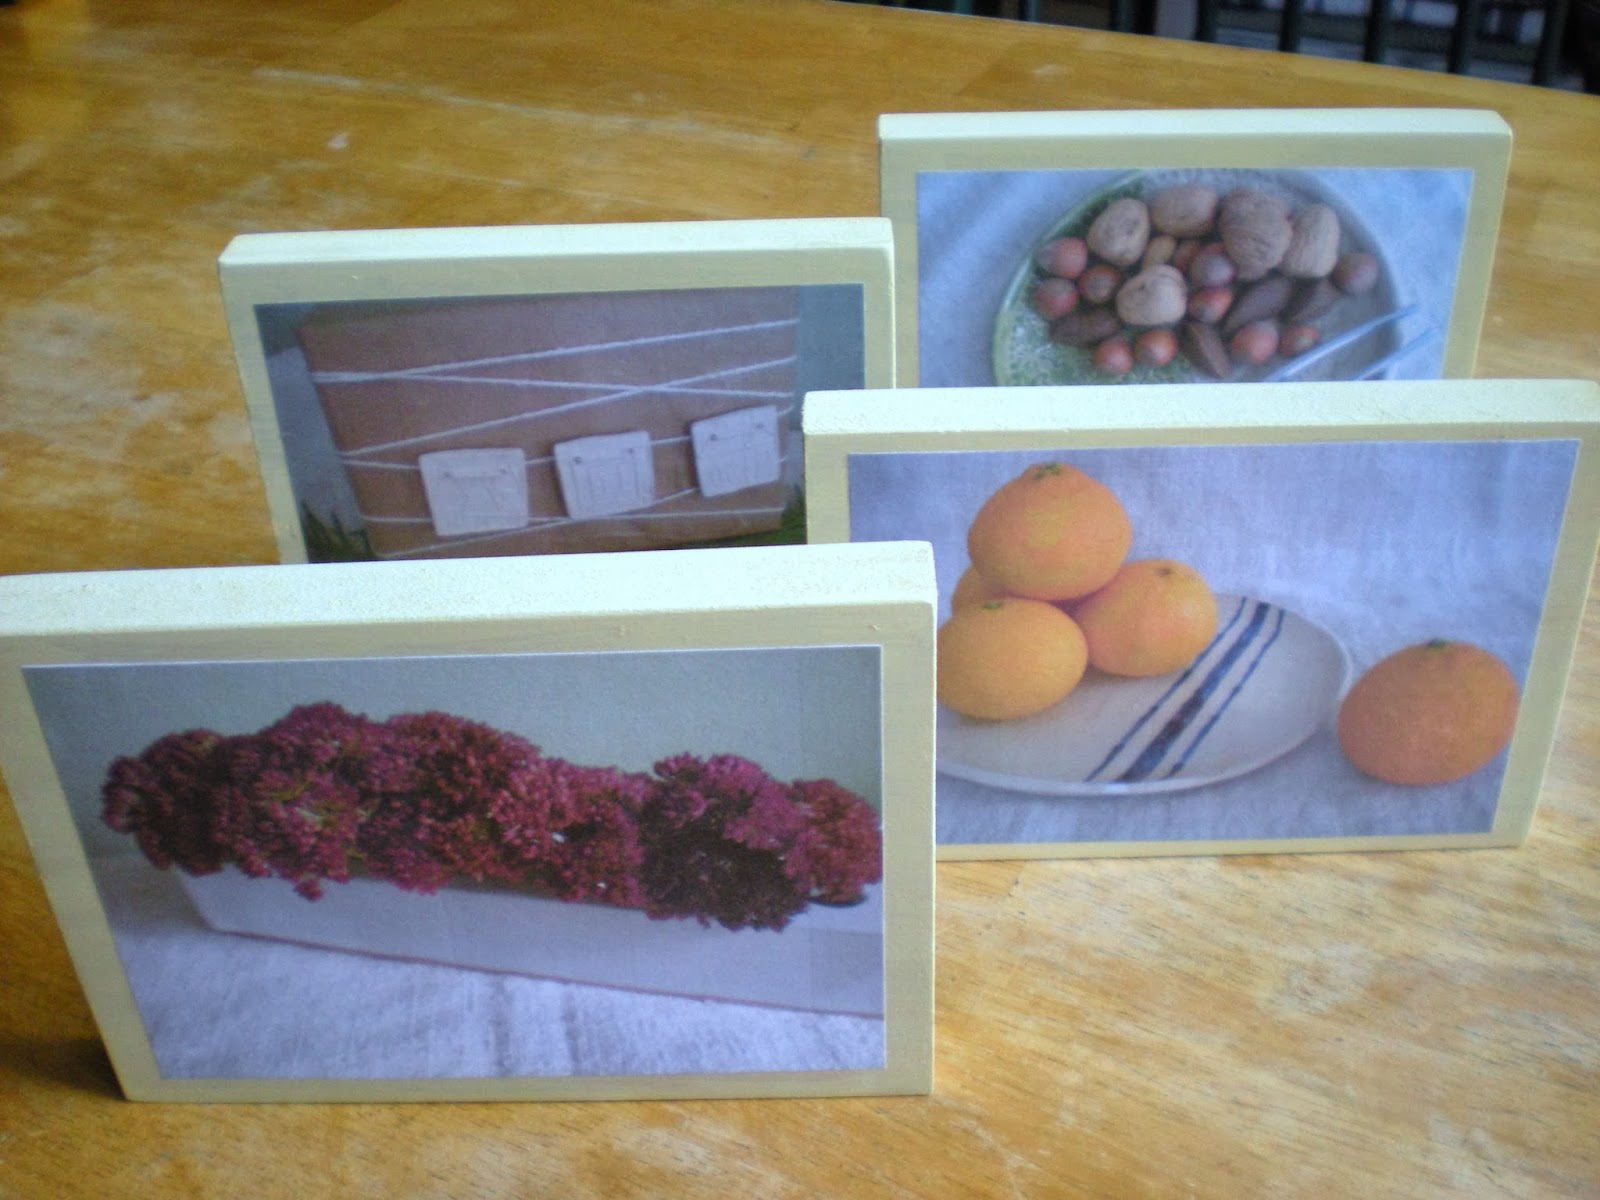
So, in preparation for the next show (which is in a mere 5 days), I made this little picture block to display on the table in case I am busy with another customer...
and because I thought it would look a little strange all by itself, I made a few more:
They were super quick and easy.

I just printed off a few colour photos onto plain white printer paper, and laid them out on some scraps of MDF leftover from a project at my parents house.
I marked the approximate places to cut the boards, gave them a quick coat of craft paint,
 then a coat of Modge Podge.
 I added the picture while the Modge Podge was still wet, rubbing out all the air bubbles with my finger.
 And then top coated it with another layer of Modge Podge.
Easy Peasy, and they will start to fill in little gaps when things (hopefully) sell from the table.

I think this little idea would be so flexible for all kinds of craft booths, and they will also serve as a reminder of what I need to make again...I often forget to take pictures of my items before I sell them.

And unrelated, the biggest bowl I have made so far.  It's a 5 pounder - wheel thrown.  Not too shabby, I think, since I'm usually a hand builder.

Friday, 1 November 2013

Another Pottery Update

I'm practicing taking better "photo shoot" style pictures, rather than just point and click.
Of course, sometimes point and click is all I can manage if there's a whole bunch...
 ...or for details.

 And I'm still playing with texture, and seeing what the studio glazes do.
 This one is called deep scarlet.  I quite like it...but not if you are looking for deep scarlet.
 Hence, the experimenting.
 I took all these pictures to put the items up in my etsy shop, but I am seriously debating whether I shouldn't just close up shop for a little while.  I have a few small shows in the next couple months, plus I have some of my pottery in a store, so sometimes I forget to check etsy.  Plus right now it's only tiny things because the large pieces are so ridiculously expensive to ship that they aren't worth listing.  I'm thinking for a while, I might just post the pictures on my facebook page for pottery, and here.
 The pitcher I showed weeks ago came out of the reduction kiln this week.
 It's a little strange, but I like it better and better each time I see it.
 And lots of vases came out in time for the show I have in November.
 This is most of my "haul" from last night.  A few that dripped onto the kiln shelf and have to be ground down.  And I got the bottom half of a butter dish (the top half didn't go through with it - not sure what happened there).  And a few plates that got relocated to the "plate stack" before I took this picture.

Linking up with: Creative Friday at Natural Suburbia

Tuesday, 29 October 2013

Handmade Holidays - Stuffies

Today's edition of Handmade Holidays is brought to you by my wonderful sister "A" and her equally wonderful husband "B".  They have made the most lovely stuffies for the babies of family and friends.   B drew out the patterns - kind of a cross between a live animal and a cartoon...and then they upcycled some clothes and fabric remnants to come up with great combinations.
 Sea turtle
 Whale
Elephant
Lots of elephants...I love their tails tied up in a knot.

If you would like to make your own, she has generously shared photos of the hand-drawn patterns with me, but I don't know how to share them with you other than just showing them here:
I wondered how they were able to get the ear inserted...the head and body are two separate pieces with the ear sandwiched in between.  The elephants have different fabrics on each side, as well as different fabrics for the ears - for the full tactile experience.

 For the sea turtle, the spots were sewn on first, and then the body was assembled (the arms and legs are tucked in there as well-and sewn right into the seam).

The whale's fins(?) are also tucked into the seam.
I can't help but wonder if one lucky person is getting this matching set.

Is anyone else getting busy with their holiday crafting?  I have a few projects on the go...it's just hard to finish them up now that the boys stay up later - less "secret crafting" time.  I have taken to bringing a project to work for lunch time but not much progress happens in just 15 minutes at a time.

Incidentally, all of my Handmade Holidays posts to date can be found on this pinterest board.

                          Fiber Arts Friday over at Wisdom Begins in Wonder
                          Creative Friday at Natural Suburbia


Friday, 25 October 2013

The big muffin.

Quick post today.  
I love giving baked goods for the holidays, but sometimes people have had enough cookies and fruit loaves.
Enter - the big muffin.
 If you have a pottery cereal bowl, it is the perfect size to bake "the big muffin" in.  Most pottery bowls are oven, dishwasher, and microwave safe.
The "big muffin" serves 4 comfortably, depending on the recipe and how full you fill the bowl. For comparison, the muffin on the right is from my largest muffin tin. I usually just do one at the same time as a batch of regular muffins - 24 mini muffins plus one giant muffin = a standard recipe for 12 muffins, or make one giant muffin and 6 to 8 regular muffins.


Toss it in a basket with a little homegrown tea, a mug, and a few pieces of fruit and you have a great gift for a hostess, teacher, neighbour, friend.  Or just simply put one into a cellophane bag and tie it closed with a ribbon and tag.  You could also gift it right in the bowl.

I'm testing out a few flavours that work for "the big muffin".  You want to pick a recipe that makes a rather moist muffin as the extra baking time can dry out some varieties.  Spiced oatmeal did not work very well.  Pina colada was delightful, blueberry cream was pretty good, and we haven't busted open the bran chocolate chunk but that's the one in the picture.

Happy baking, my friends.


Monday, 21 October 2013

Craft Show Prep meets Handmade Holidays


Craft show prep that will do double duty once the time comes for holiday decorating.

My next craft show is a mere 3 and a half weeks away.  I still have some work to do in the display department, so yesterday I got to it.  I scavenged up some large branches in the backyard and just chopped them up into random lengths.

This will give me the height variations I am looking for without filling up my table with boxes or larger blocks.
 Plus it gives me the versatility to add in some fresh elements if I can get my act together in time.
 They are absolutely perfect for displaying my tiny itty bitty items - like these fairy/gnome dish sets I am working on...
 ...without them getting lost on a large table.

And then when the holidays get here, I can use them again...
I only set up a small portion of it here since I was a little rushed for time, but picture this three or four times times longer...won't it be nice on my dining room shelf?  I might add in little containers of greens too.

I think I have plenty of blocks cut.

The inspiration came from this picture I found on Pinterest, but as far as I can tell, this is the original source.
Maybe I can convince someone to cut me some great big logs?  I don't use the chainsaw.

How are your handmade holiday preparations coming along?

Linking up with:  Keep Calm Craft On over at Frontier Dreams
                          The backyard Farming Connection - Hop
                          Creative Friday at Natural Suburbia
                          From the farm blog hop at Fresh Eggs Daily
                          Homemade Monday on Frugal by Choice, Cheap by Necessity